The 10-Step Roof Replacement Process Explained
Realizing it is time for a new roof can feel overwhelming for any homeowner. It is a significant investment, and if you have never been through it before, you likely have a lot of questions about what to expect during roof replacement. From wondering how long the project will take to worrying about the mess left behind in your yard, the anxiety is completely understandable.
At Ironclad Exteriors Co., we believe that replacing your roof shouldn't be a stressful mystery. As a veteran-owned company serving Akron, we operate on the core LDRSHIP values—Loyalty, Duty, Respect, Selfless Service, Honor, Integrity, and Personal Courage. That means we prioritize clear communication, honest recommendations, and absolute transparency from the moment you call us until the final nail is driven.
To help put your mind at ease, we have broken down our comprehensive residential roofing process. Here is exactly how we take your home from an aging, vulnerable roof to one that is built strong and built to last.
From Inspection to Preparation: Setting the Stage
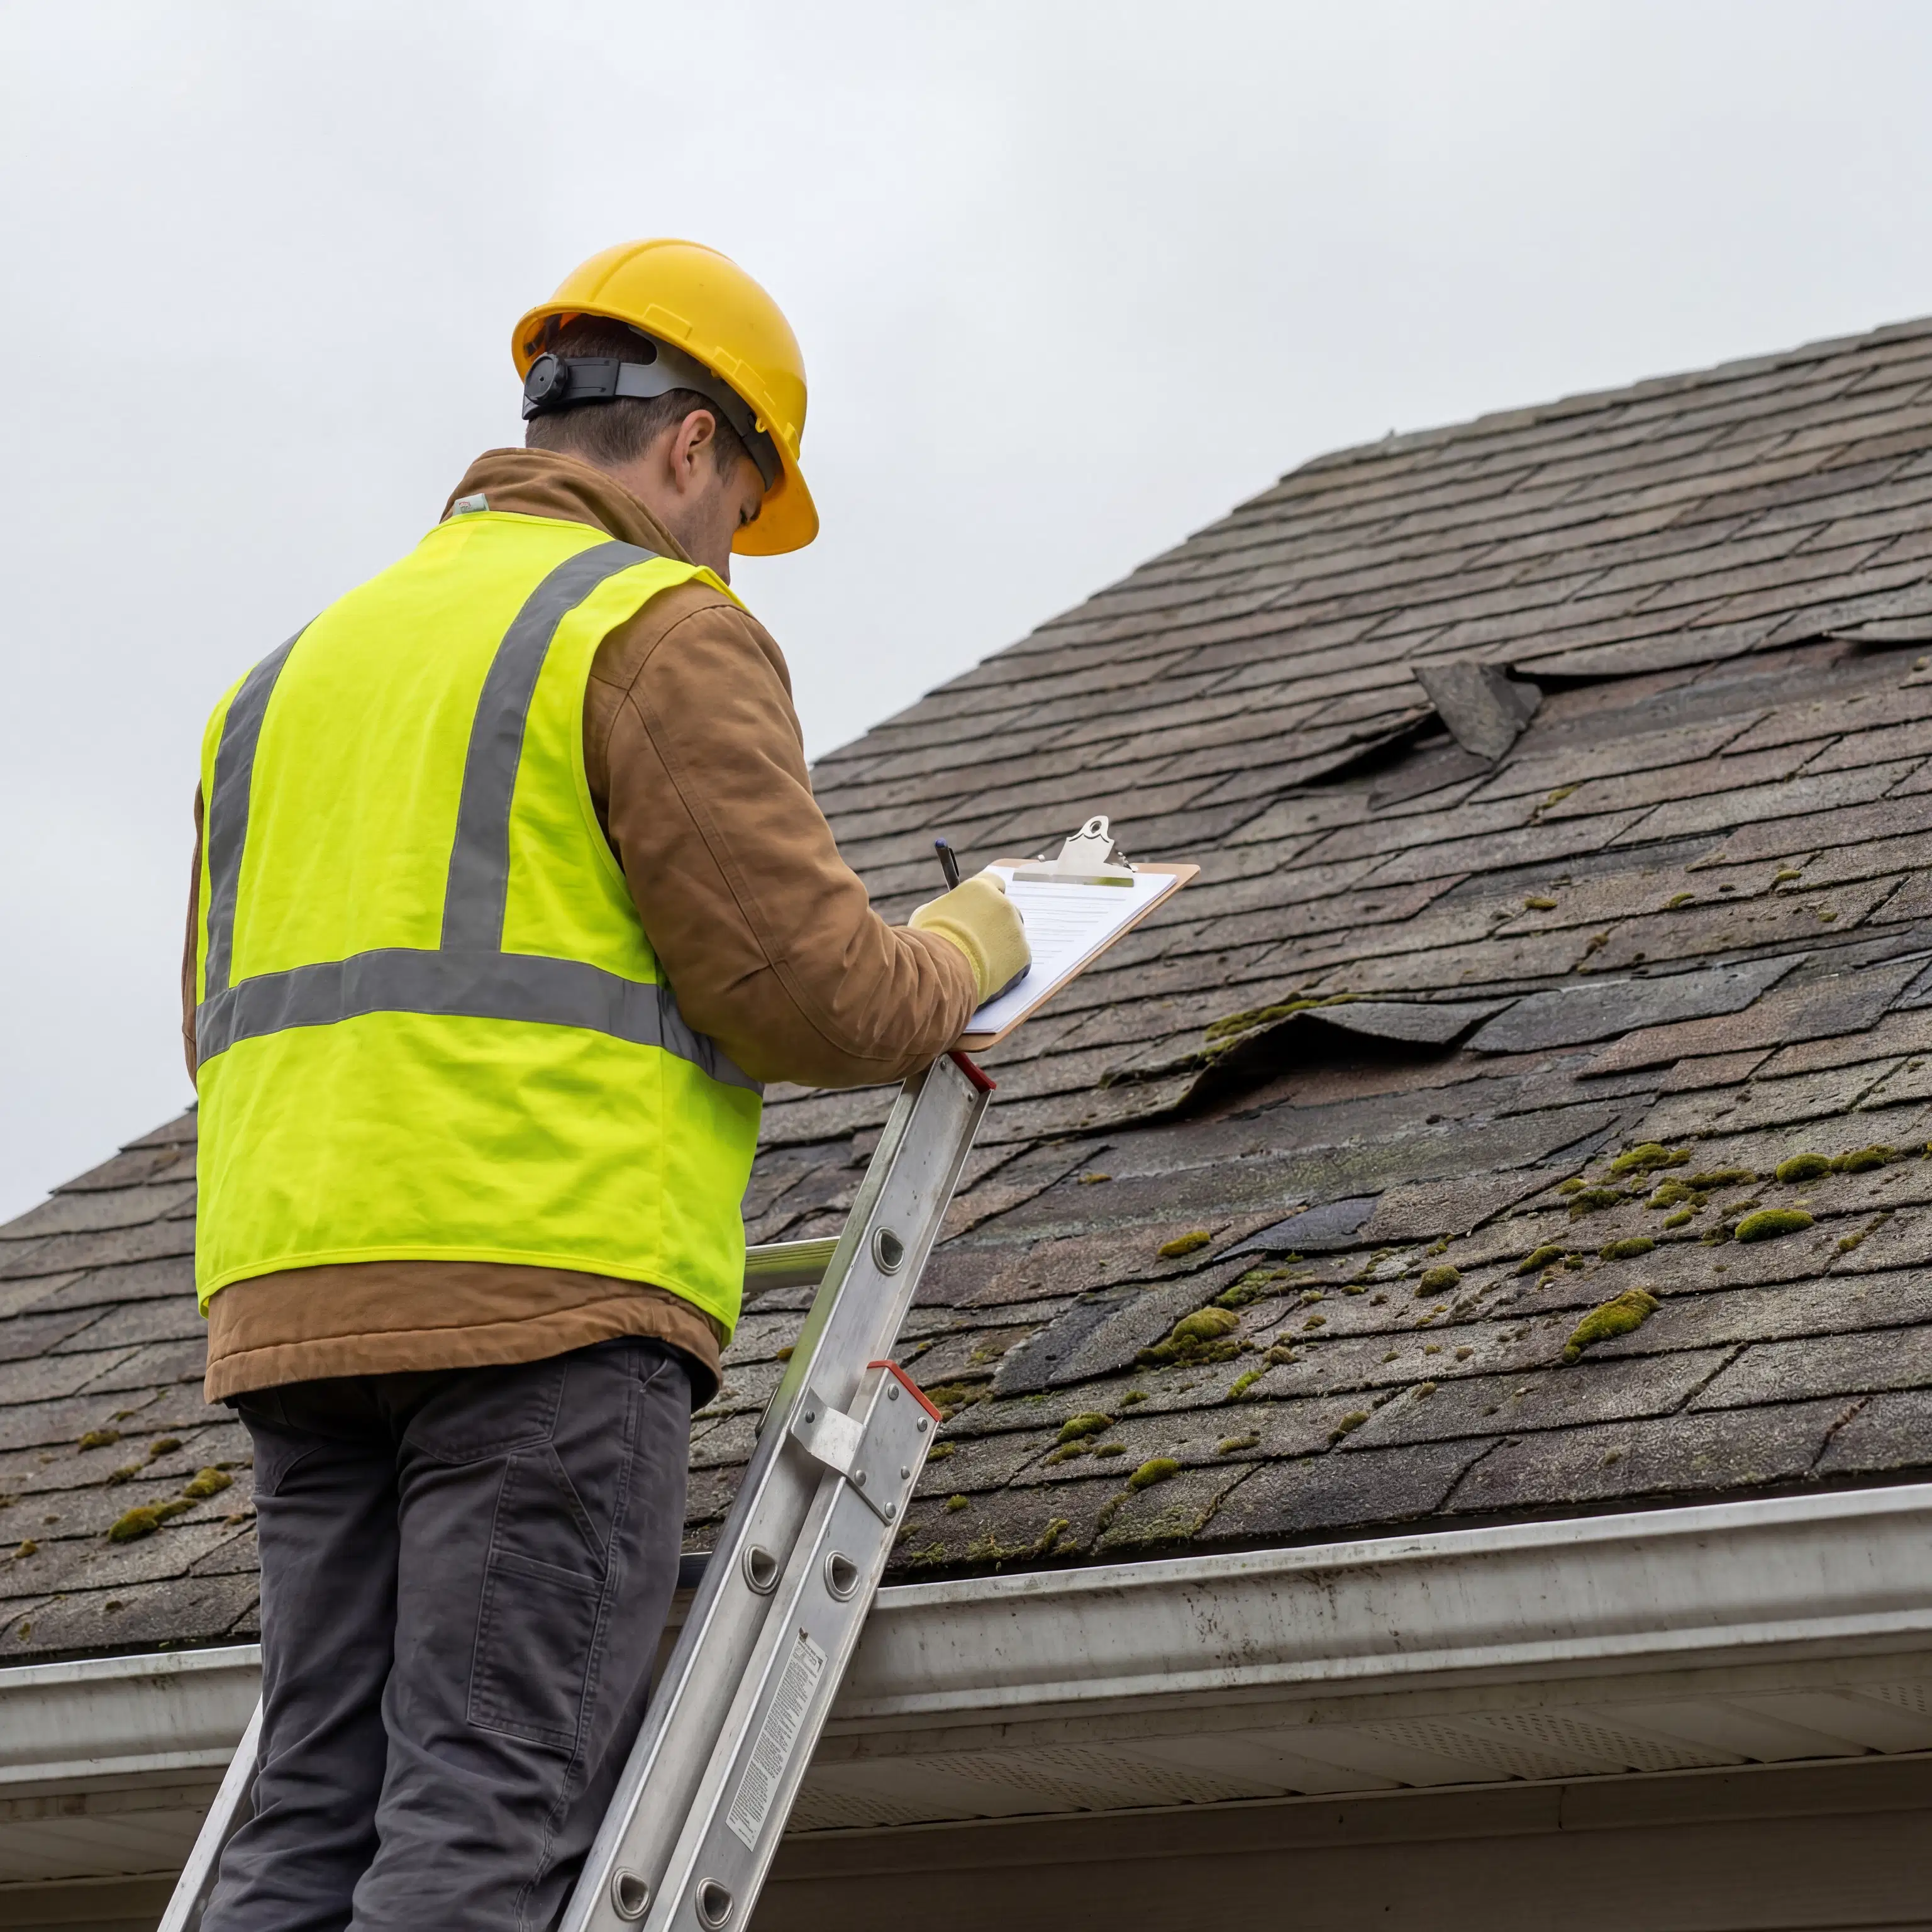
Step 1: The Initial Inspection Our process begins with a thorough, honest evaluation of your current roof. We don't just eyeball it from the driveway. We utilize modern technology, including drone inspections, to get highly accurate measurements and safely assess hard-to-reach areas. This allows us to identify hidden issues and provide recommendations based on facts, not guesswork.
Step 2: The Detailed Proposal We know that homeowners in The 330 value straightforward pricing. After our inspection, we provide a detailed proposal that outlines the exact scope of work. This document covers the specific Owens Corning materials we recommend for our climate, our 15-Year Workmanship Warranty, and clear pricing. We also walk you through flexible financing options to ensure the project fits comfortably within your family's budget without any high-pressure sales tactics.
Step 3: Contract Finalization and Scheduling Once you approve the proposal, we finalize the contract and get you on the schedule. You won't have to worry about navigating local building codes or historic district guidelines; our team handles all the necessary permit approvals required for your specific neighborhood.
Step 4: Material Ordering and Work Orders Behind the scenes, we order your materials and prepare detailed work orders for our crews. If your project involves coordinating siding services or a new gutter installation alongside the roof, we synchronize these deliveries so everything is ready to go on installation day.
Installation Day: Built Strong, Built To Last
Step 5: Job Site Preparation and Safety When installation day arrives, our licensed and insured crews prioritize safety and property protection. We carefully lay down tarps to protect your landscaping, driveway, and siding. We are also highly conscious of your property lines and public spaces, ensuring our dumpsters and debris stay off the Devil's Strip to keep your neighborhood looking tidy.
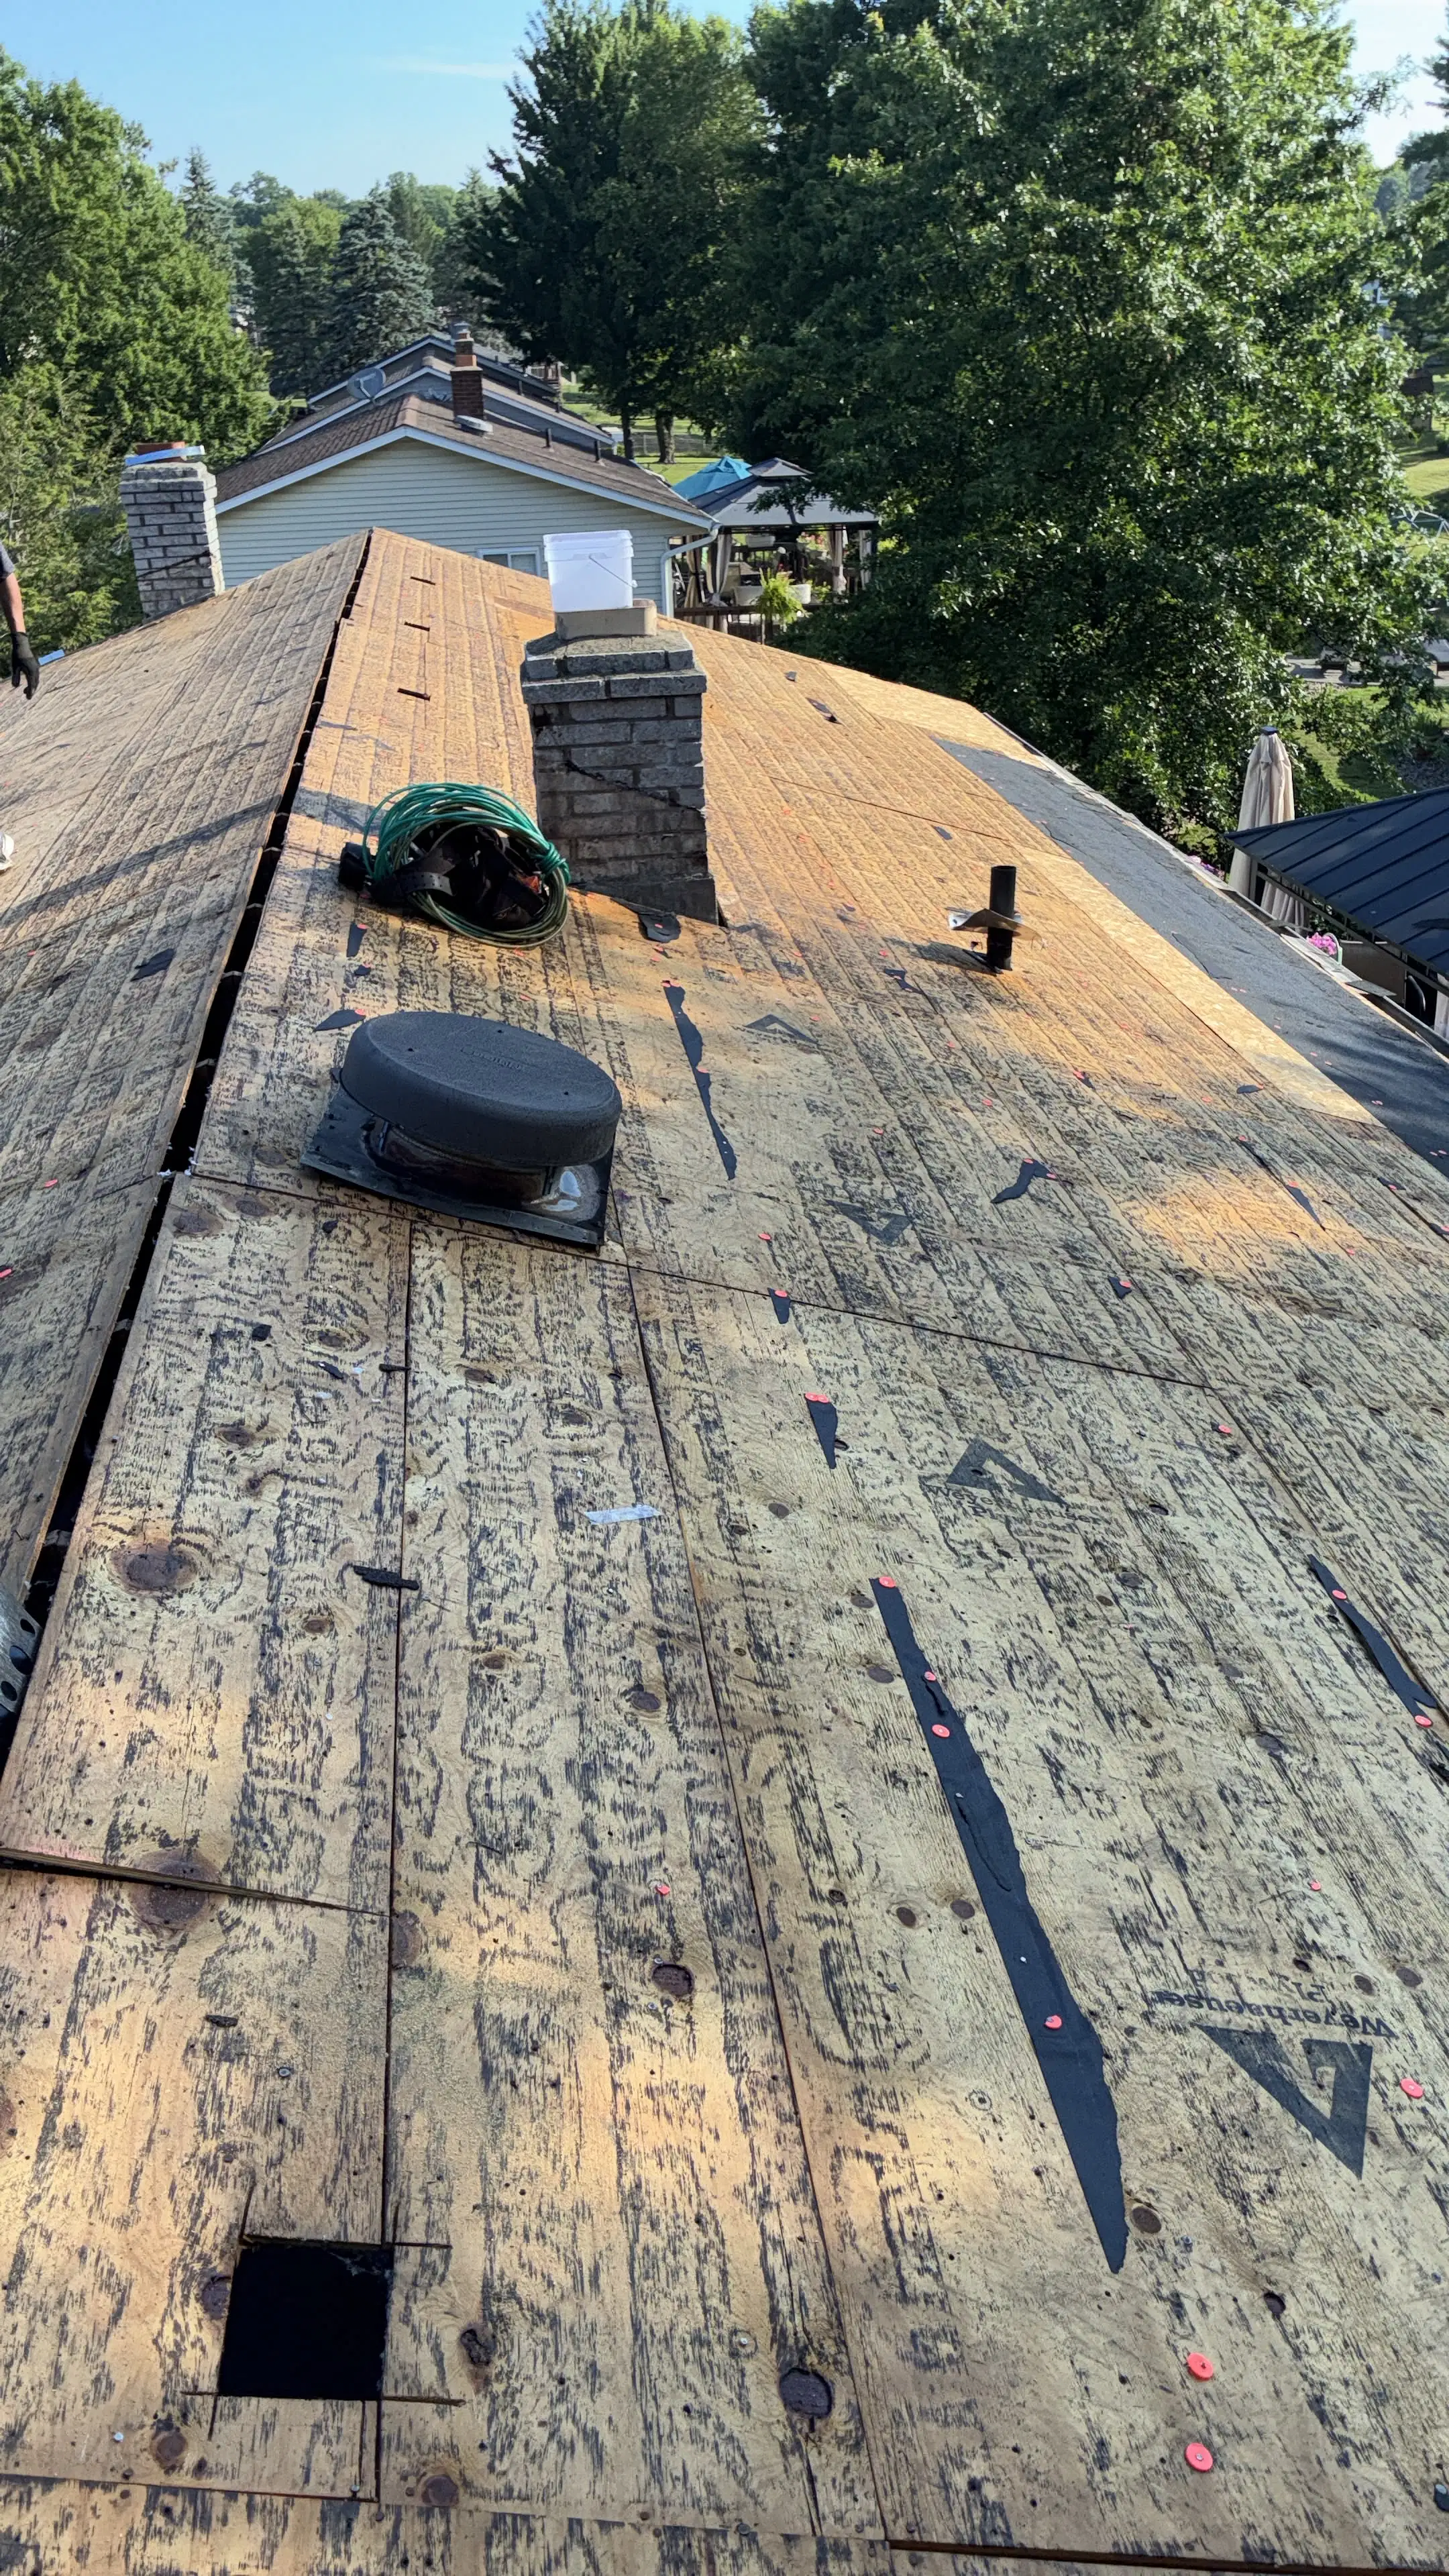
Step 6: Complete Tear-Off and Decking Inspection Homeowners often ask if a new roof can simply be installed over existing shingles. We always perform a complete tear-off down to the wooden decking. This is a crucial step in the step by step roof installation process because it allows us to inspect the underlying wood for rot or water damage. If we find hidden issues, we document them with photos and communicate with you immediately for approval before making any necessary repairs.
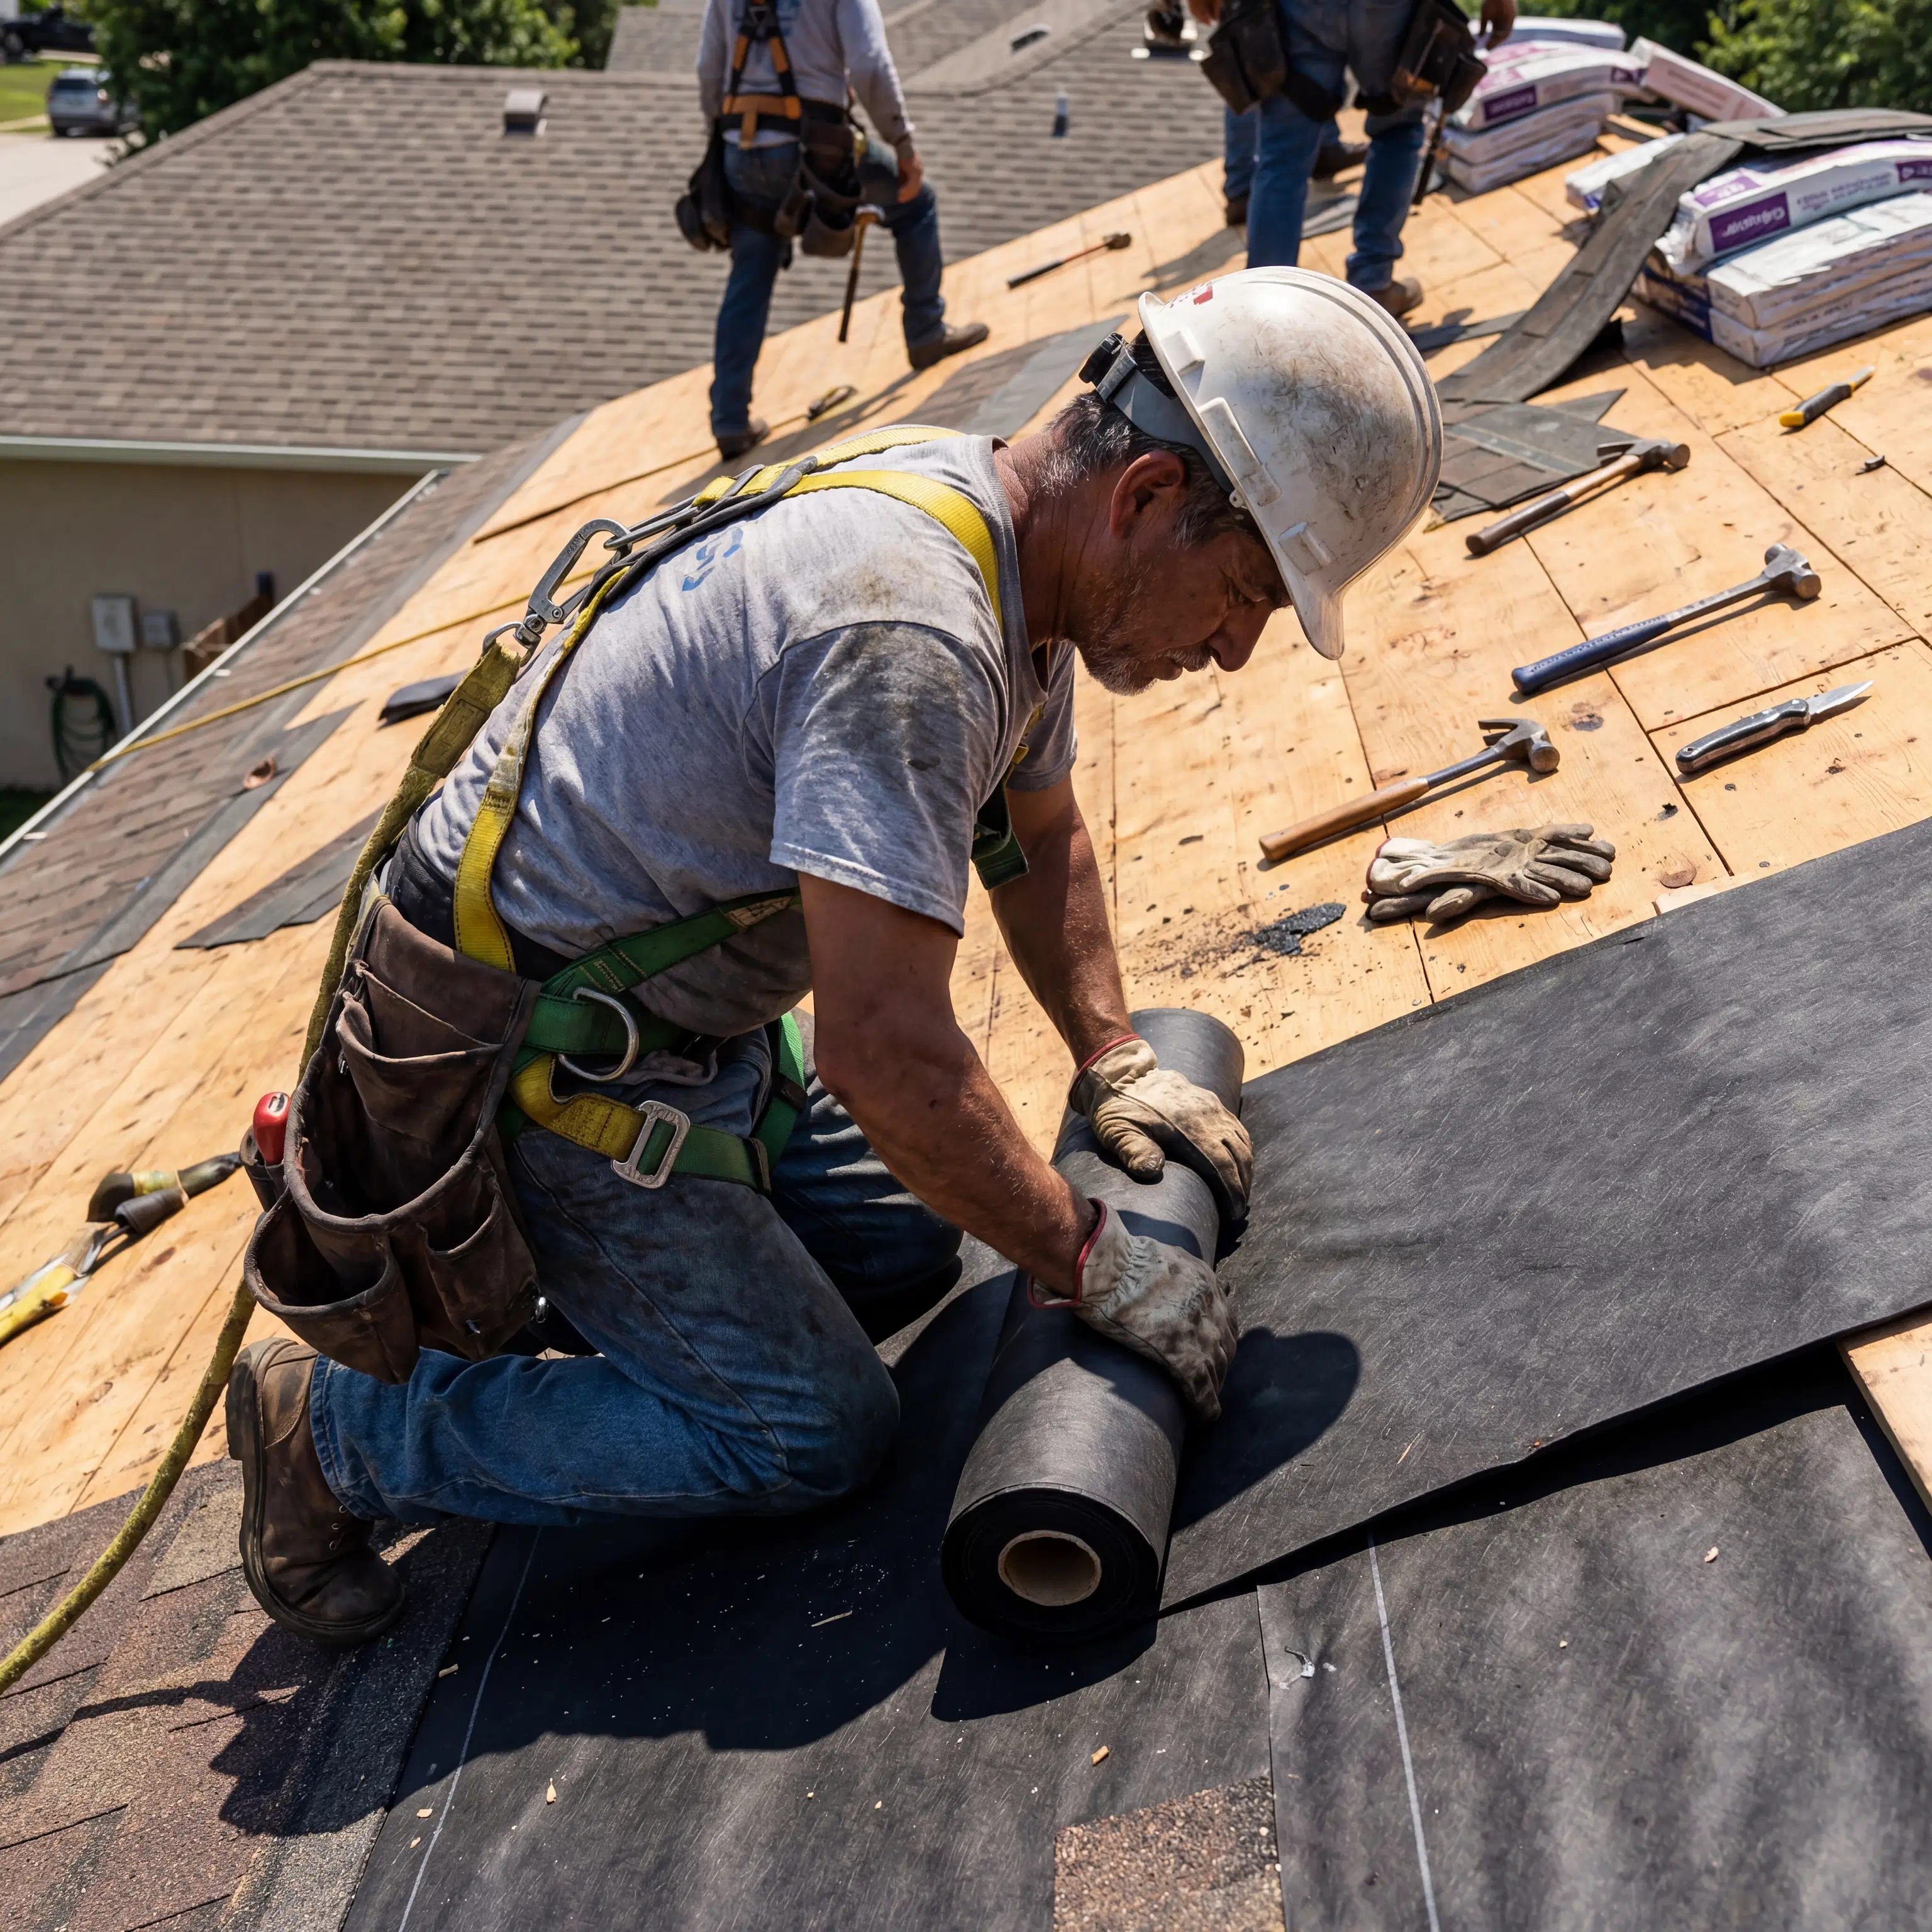
Step 7: The Installation Process With a solid foundation secured, we install your new Owens Corning roofing system. Our crews strictly adhere to manufacturer specifications and local building codes. We pay special attention to proper attic ventilation and install heavy-duty ice and water shields in vulnerable areas like valleys and eaves. This specialized underlayment is absolutely essential for protecting your home against the intense Lake Effect weather and preventing destructive ice dams during our harsh winters. Weather permitting, we complete most residential roof replacements in a single day.
Communication, Cleanup, and Final Review
Step 8: Ongoing Communication You will never be left in the dark wondering about the progress of your home. Throughout the installation day, we maintain constant communication. We send regular text message updates, complete with photos of the progress, so you can see exactly what is happening on your roof in real-time. We also use email for all official documentation and receipts.
Step 9: Comprehensive Cleanup A great roofing job isn't finished until the property looks better than when we arrived. Our crews perform a meticulous cleanup of the entire job site. This includes running magnetic sweeps across your lawn, driveway, and garden beds to ensure every stray nail and fastener is picked up, keeping your family and pets safe.
Step 10: Final Review and Warranty Handover The final step is a thorough quality review to ensure every shingle, flashing detail, and ridge cap meets our strict standards. Once the inspection is complete, we finalize the project with you and hand over all applicable warranty information, including our Ironclad 15-Year Workmanship Warranty. If your project was the result of severe weather, our team will also help finalize the documentation needed for your storm damage insurance claims.
Ready to Protect Your Home?
Understanding how long does a roof tear off take and what happens at each stage of the process is the best way to feel confident in your investment. By following this strict 10-step process, we ensure that no corners are cut and that your home receives the highest level of protection possible.
If you are noticing signs of an aging roof or simply want the peace of mind that comes with a professional inspection, we are here to help. Learn more about us and our commitment to the Summit County community, or reach out today to schedule your consultation. Contact us to experience the difference of working with a team that truly believes in doing things the right way.